Safety
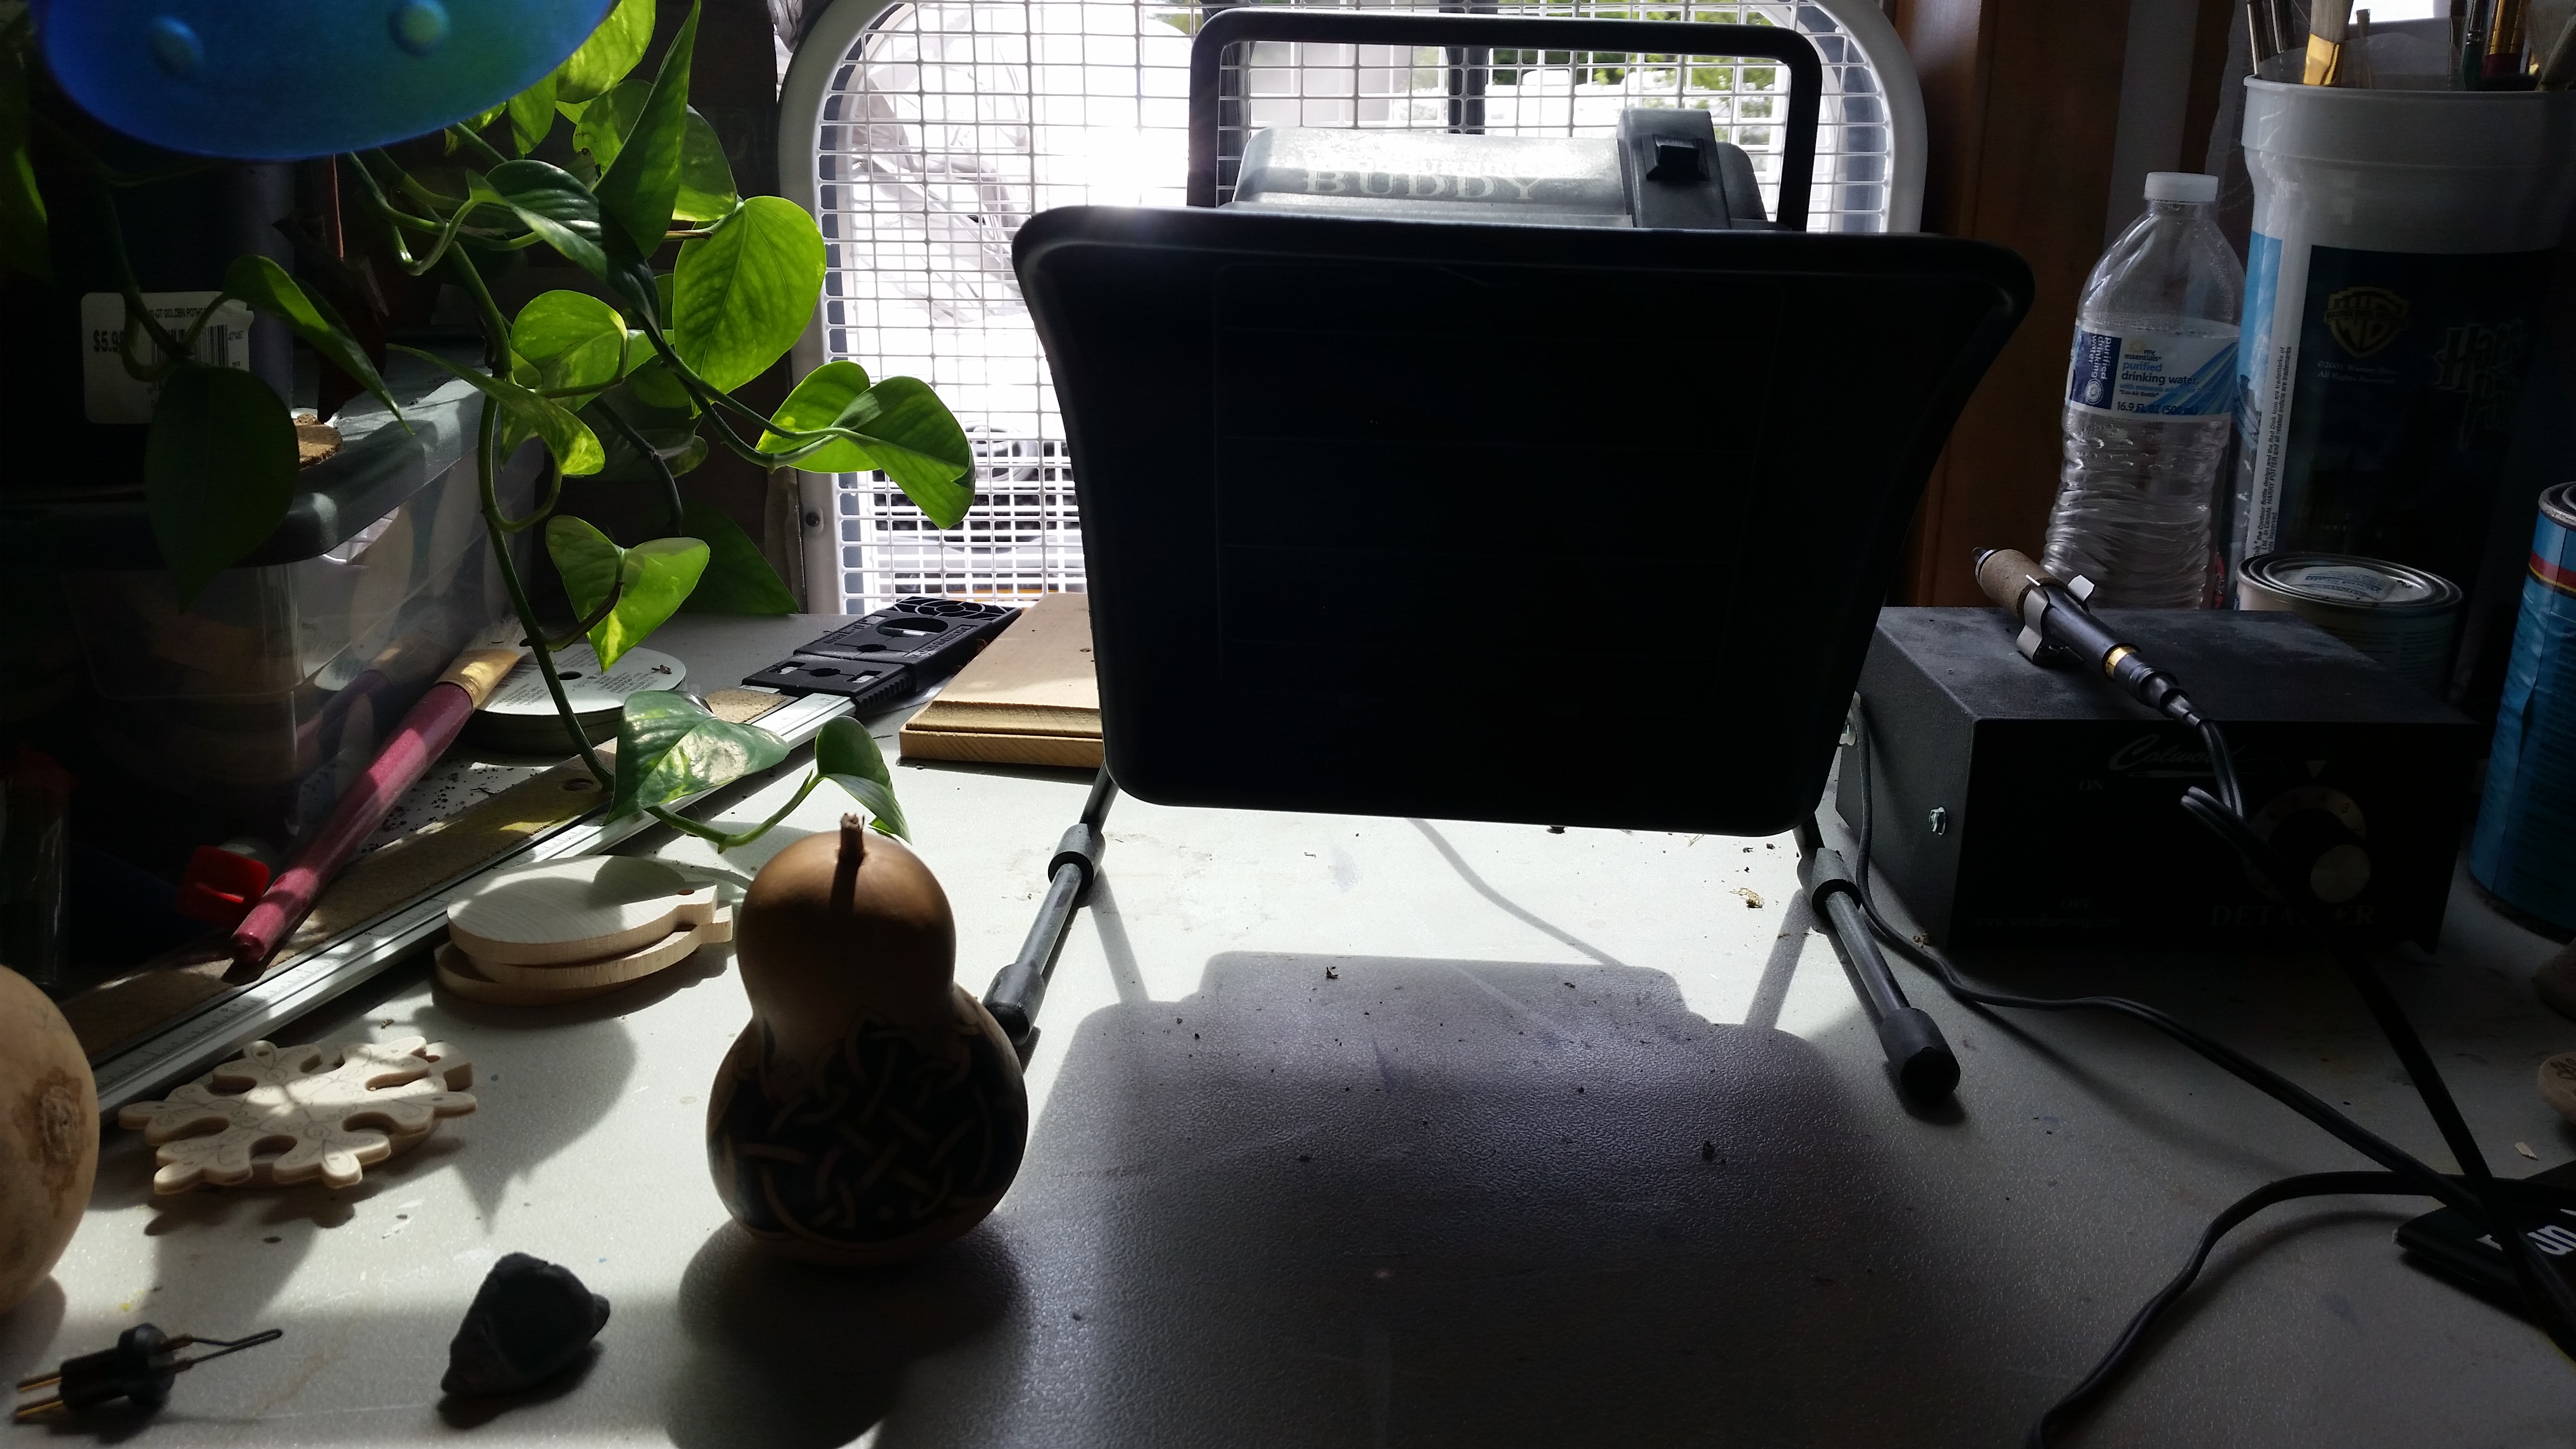
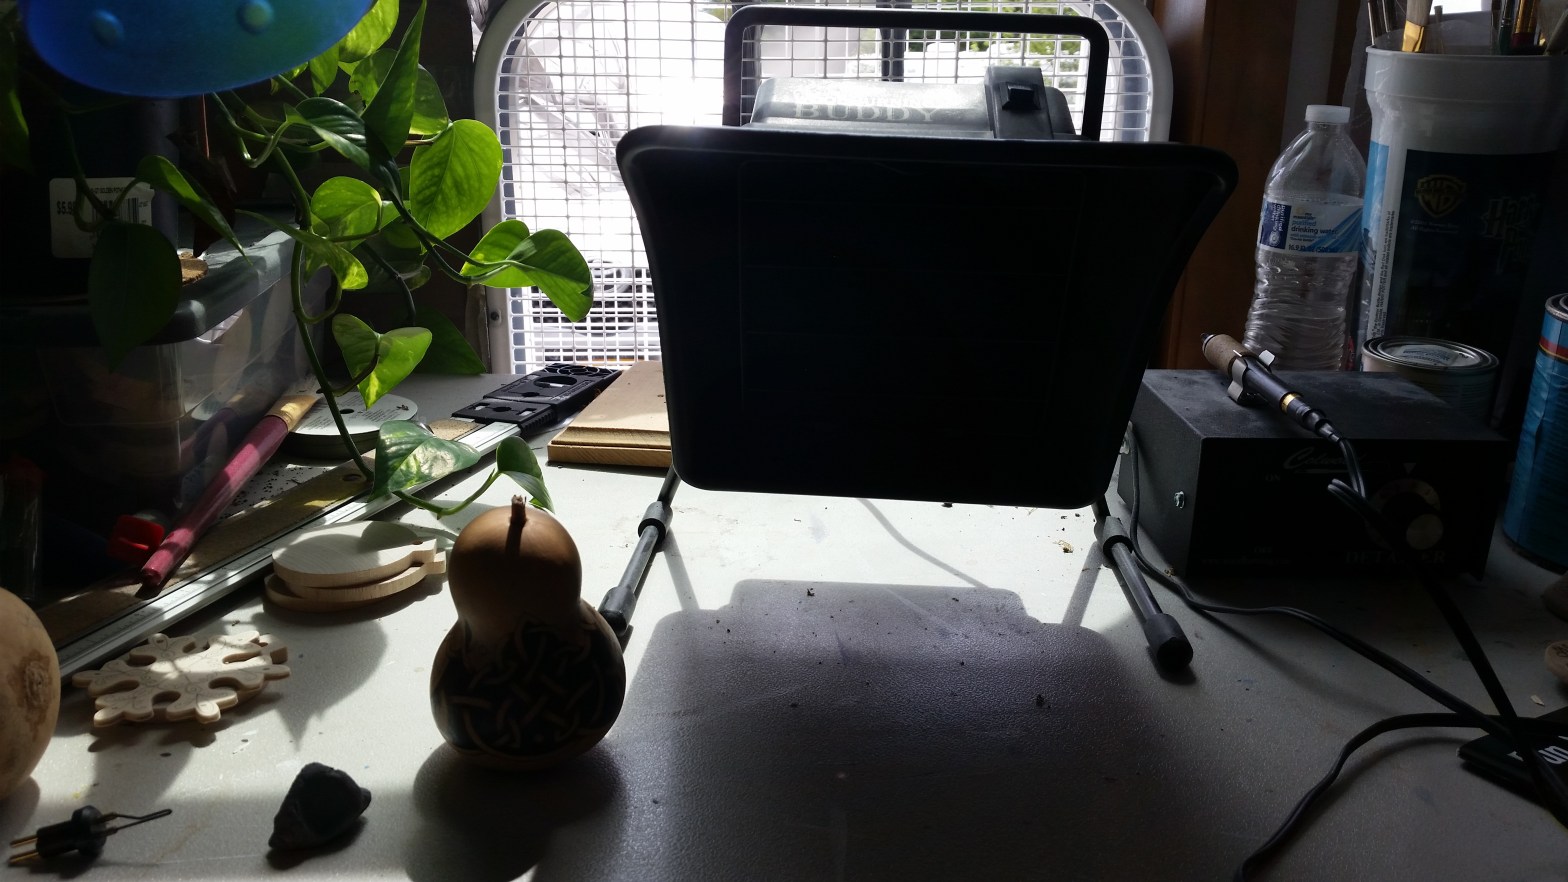
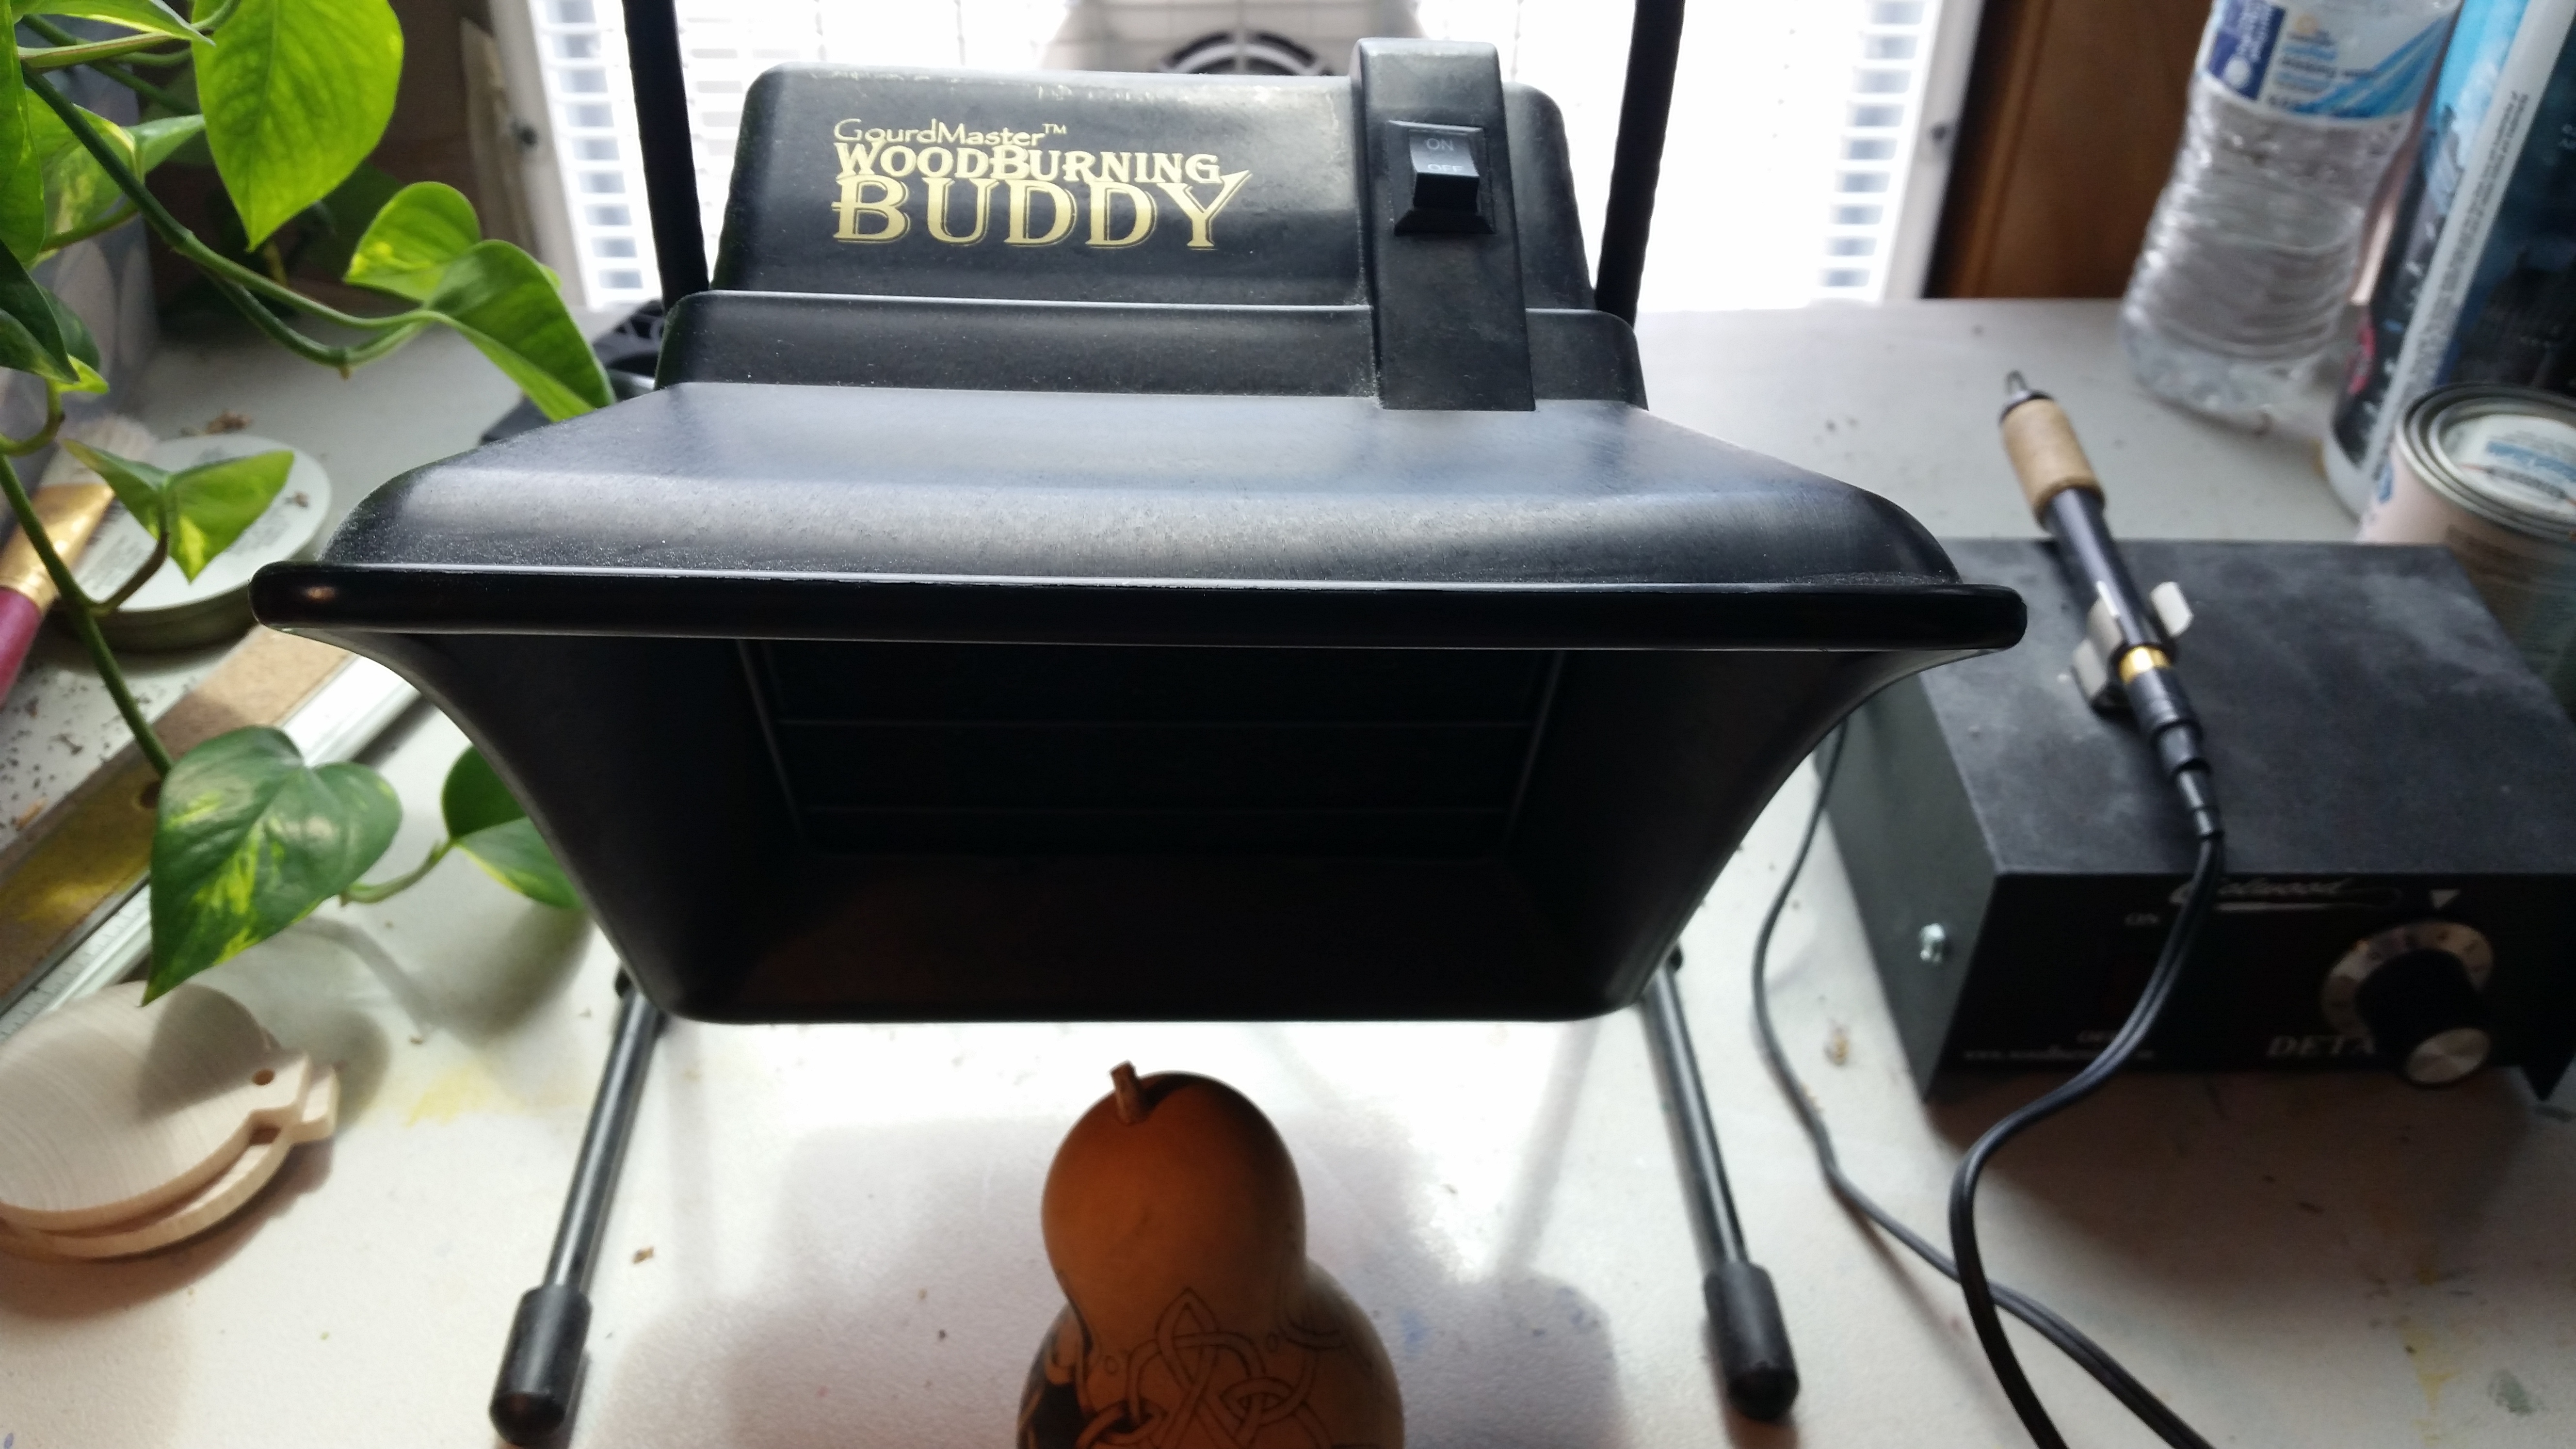
My work space is a table in my living room in front of a window. I have two small kids at home, so I do my best to make sure any smoke from the burning doesn’t stick around. I have a box fan in the window that blows outward. I also use a Gourd Master Woodburning Buddy, which you can find here. It pulls the smoke away from the project and filters it. If it is really too cold outside to have the window open, I will use just the Buddy.
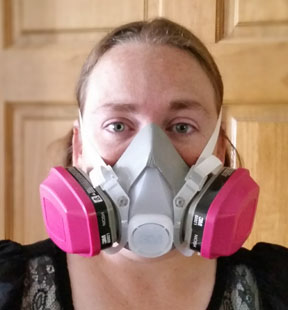
My final safety measure is my mask. I know it looks like overkill, but wood smoke is not healthy. I only have one set of lungs. My husband calls me Darth Vader when I’m wearing the mask.
Even with all of these precautions, there are some surfaces you should avoid burning. Anything with plastic is dangerous. You should also be very careful with anything that has a finish on it. Pressure treated wood and MDF (medium density fiber board) are also not good to burn on. Plywood is ok, but make sure you don’t burn deep enough to get to the glue.
The Sawdust Connection has a pretty good article about safety that you can find here. They include a list of woods that can cause allergic, toxic, infectious, or respiratory reactions.
That’s a lot to consider. So what do I burn on?
Basswood – This is probably the best in terms of smoothness of grain. I recommend this above all others for beginners.
Beech -The bowls that I burn on are, for the most part, made from beech. It’s a pretty hard wood and the grain doesn’t cause too much trouble. The light color works well for wood burning
Pine – Definitely not my favorite. It has a tendency to gum up my tips.
Maple – I like the lightness and the grain is fairly easy to work with.
Cherry – I’ve worked with this wood twice and loved the results.
Italian Poplar Plywood – I’m currently trying this one out. So far the burn is smooth.
Oak – This one can be challenging. It is a hard wood and takes longer to get the burn I want. Pyrography takes patience. Burning on oak requires even more.
Gourds – They take a burn really well, though I’ve noticed they dirty my tips faster than wood (other than pine). They take a long time to dry and clean, but you can also purchase them pre dried and washed.
Part 2 will focus on the tools you need for woodburning.

hi, you have some lovely work 🙂 could you please tell me the name and specifics for the darth vader mask, thanks jon
Hi Jon,
Thank you. The mask is a 3M Half face-piece respirator with 60921 respirator cartridges
thanks Christina 🙂 if you would like to check out my page….www.facebook.com/smileyjon74
Loveely blog you have here